
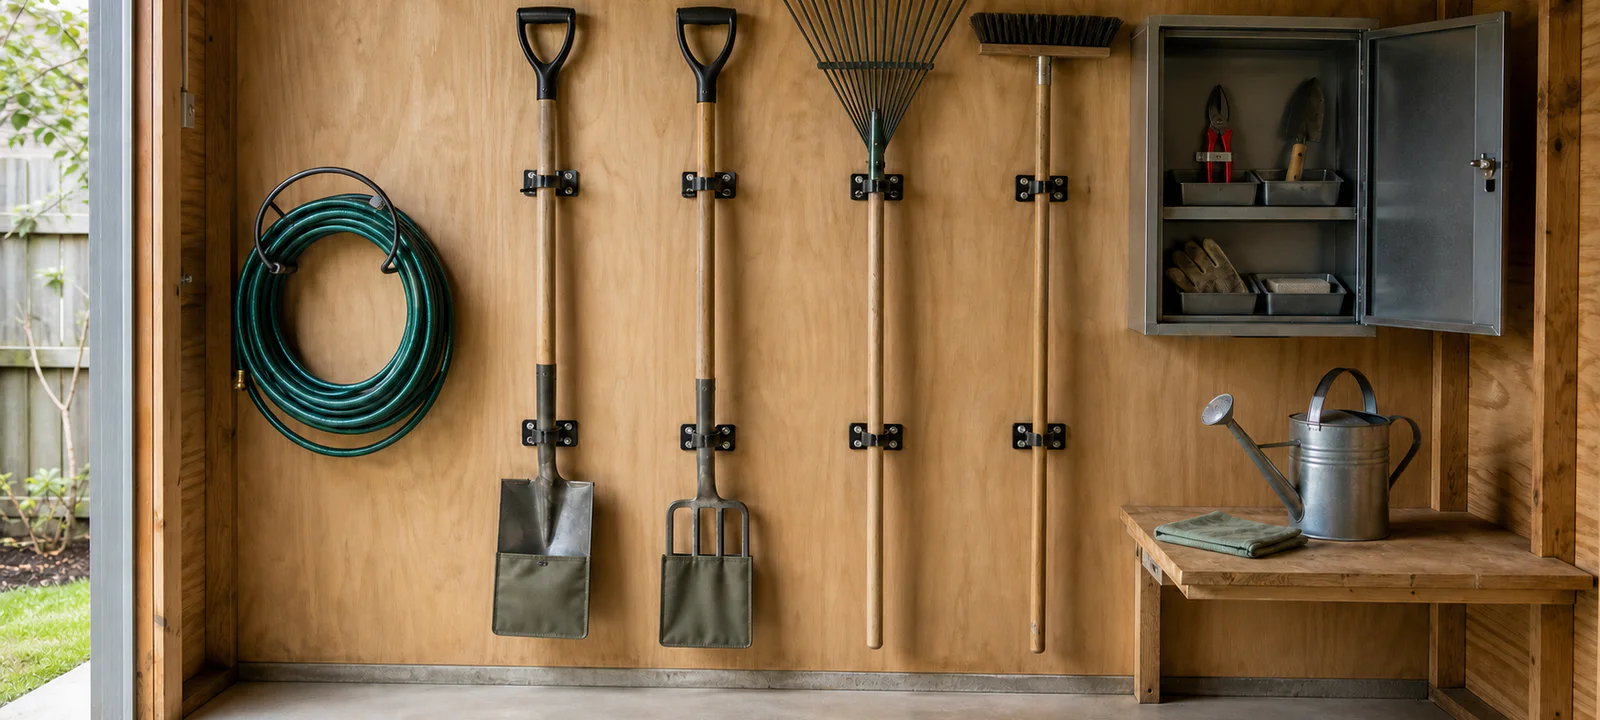
Garden tools are often put away at the moment everyone is tired: soil still on the trowel, hose across the path and secateurs closed around sticky plant material. By the next job, the tools are harder to find and less pleasant to use.
A short routine for cleaning and putting tools away protects the working area as well as the equipment. Remove loose dirt, dry what has been washed, inspect moving parts and return each tool somewhere dry, secure and easy to reach without blocking a door or walkway.
Start With the Tools Used Most Often
Lay out the tools used through an ordinary month rather than organising every inherited or rarely used item first. For many households that means gloves, secateurs, a trowel, hand fork, broom, rake, spade and watering equipment.
Sort them into four practical groups:
- ready to clean and return
- needs sharpening, adjustment or a replacement part
- damaged and not safe to use
- rarely used and better stored away from the everyday zone
Do not hang a damaged tool back with the usable set. Tag it or place it in a separate repair area so the next person does not discover the fault midway through a job.
Remove Soil and Moisture Before Storage
Brush or scrape off loose soil from spades, trowels and forks. Where a tool can be washed, follow its care instructions, then dry it before putting it into a closed cabinet, shed or tub. Do not trap damp gloves, cloths or tools together.
Pruning tools may collect sap and plant material around the blade and pivot. Clean them using a method suitable for the tool and dry them carefully. If a plant appears diseased, use current horticultural advice for cleaning between plants rather than assuming an ordinary wipe is enough.
Gardening Australia’s cleaning and storage guide demonstrates removing soil before storage and protecting metal and timber surfaces. Check the manufacturer’s instructions before applying oil or taking a tool apart.
Inspect Handles, Fasteners and Cutting Edges
Run a careful visual check before the tool goes back. Look for loose heads, cracked handles, damaged grips, missing fasteners, corrosion, bent metal and cutting edges that no longer work cleanly. Powered tools need their own product-specific inspection and maintenance routine.
Sharpening is not a generic one-method job. Different secateurs, shears, spades and saws have different edges and service requirements. Follow the tool instructions or use a suitable repair service if the correct angle, disassembly or safe technique is unclear.
Choose a Dry Return Point
A useful storage point is close enough to the garden that tools are returned, but protected from rain, irrigation and direct exposure. A shed, ventilated cabinet, garage rack or covered utility zone may work depending on the home.
Before adding hooks, racks or a cabinet, check:
- the wall type and fixing instructions
- the weight and shape of each tool
- whether sharp edges are controlled
- clearance around doors, cars, bins and walkways
- whether children or pets can reach the storage
- airflow for gloves, cloths and recently cleaned items
Keep Chemicals and Tools as Separate Jobs
Fertilisers, pesticides, fuels and other garden products should not be treated as ordinary tool clutter. Keep them in their original containers, follow label storage directions and separate them from children’s outdoor items, pet supplies and food-related barbecue gear.
A tool rack may remain open for visibility, while chemical products may require controlled storage. Design each zone around what it contains instead of trying to make one cabinet handle every outdoor item.
Reset the Outdoor Area for the Next Season
Australian climates do not share one seasonal calendar. Use the conditions approaching your own area—heat, prolonged rain, wind, storms, frost or a dry period—as the trigger for a simple outdoor review.
For the wider plant, soil, mulch and irrigation assessment, continue with the Spring Garden Reset Checklist.
- clear paths, drains and access to taps
- check pots for drainage, stability and root-bound plants
- remove broken ties, empty packaging and unusable supplies
- inspect hoses, connectors and watering cans for leaks
- move lightweight items to the place they will be secured in rough weather
- check outdoor fabrics and covers before they are needed
- review shade and watering based on the actual site conditions
This is a reset, not a reason to replace everything. Repairing a hose fitting, cleaning a tool or relocating an unstable pot may solve the problem without another purchase.
Create a Five-Minute Finish
Keep a brush, rag and the appropriate cleaning supplies near the return point, provided they can be stored safely. Finish each gardening session by clearing the path, removing loose soil, drying washed tools and returning sharp items to controlled storage.
A longer inspection can happen at a seasonal change, but the everyday finish should be short enough to repeat. If the routine requires carrying tools across the whole property or moving several tubs, the storage position probably needs adjustment.
Maintain the Kit Before Expanding It
A smaller set of clean, working tools is more useful than a crowded rack of duplicates and damaged equipment. Sort the current kit, repair what is worth keeping and make the return point work before buying another specialised tool.
The same principle applies to the outdoor area: protect access, respond to local conditions and reset the supplies already on hand before adding more furniture, storage or garden products.
Common Questions
How should garden tools be cleaned before storage?
Remove loose soil, follow the care instructions for any washing and dry the tool before it enters a closed cabinet, shed or tub. Inspect handles, fasteners, metal and cutting edges while it is out. Keep anything damaged or awaiting repair separate from the tools that are ready to use.
Where is the best place to store everyday garden tools?
Choose a dry return point close enough to the garden that tools are actually put away. Keep long or sharp tools stable and out of paths, doors and children's reach, and follow the storage instructions for each item. Treat chemicals as a separate storage job rather than mixing them with hand tools.
What should a seasonal outdoor reset include?
Start with the tools used most often, clear paths and remove empty or damaged supplies. Check pots, watering gear and the storage point for the coming conditions, then create a short finish routine: remove soil, dry what is wet, inspect the tool and return it to the same place.