
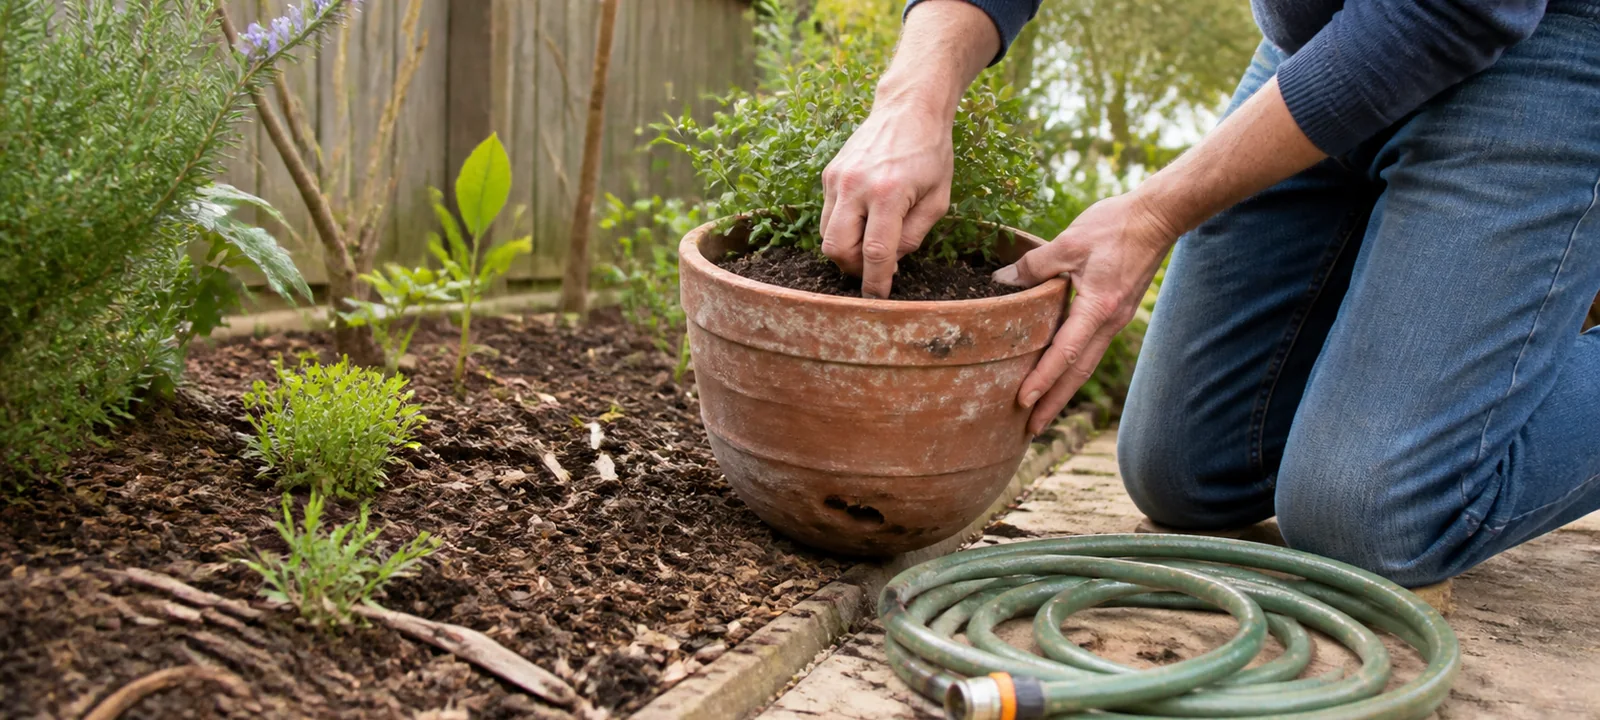
A spring garden reset should leave you with a shorter job list—not a trolley full of fertiliser, plants and tools.
Begin with one hour of observation and simple maintenance. Clear access, test watering, check soil beneath the surface and identify anything likely to struggle as the weather becomes hotter.
What needs doing depends on where you live. Spring in Hobart, Perth, Brisbane and Darwin does not produce the same garden conditions, so use local weather and plant behaviour rather than the calendar alone.
Adjust the reset for your climate
Australia’s climate zones differ in temperature, rainfall, humidity and seasonal patterns. Use this table as a starting point, then check local water restrictions and plant-specific guidance.
| Garden setting | Main warmer-weather priority |
|---|---|
| Cool and temperate areas | Check frost damage, emerging growth, weeds and watering before conditions become hotter and drier |
| Mediterranean and dry-summer areas | Prepare mulch and irrigation before rainfall declines and summer heat arrives |
| Subtropical areas | Expect faster growth, rising humidity, storms and increasing insect activity |
| Tropical wet–dry areas | Prepare for the build-up and wet season rather than following a southern spring calendar |
| Hot, dry or arid areas | Prioritise soil moisture, shade, irrigation efficiency and survival through extreme heat |
| Alpine or frost-prone areas | Delay frost-sensitive planting or pruning until local conditions are suitable |
The Bureau of Meteorology’s climate classifications explain the broad pattern, but suburb, soil, elevation and garden exposure still matter.
The first-hour garden reset
First 15 minutes: walk and photograph
Take one slow lap of the garden. Photograph anything you may want to compare later, including:
- bare or damaged plants
- yellowing, spotted or chewed leaves
- thin lawn areas
- pooling water
- leaning or cracked pots
- blocked drainage
- leaking hose fittings
- weeds you cannot identify
Include one close photograph and one showing the whole plant or location. This is more useful for later identification than a single picture of one damaged leaf.
Next 15 minutes: clear access
Remove loose branches, empty containers and obvious trip hazards from normal paths. Check that gates open, taps can be reached and hoses are not looped across walkways.
Move unstable lightweight pots to a safer temporary position. Do not lift containers that are too heavy to move safely.
Next 15 minutes: check water and drainage
Run each accessible irrigation zone briefly while watching it. Look for:
- blocked or missing emitters
- water spraying paths, walls or fences
- leaks at hose connections
- dry gaps
- water running away before soaking in
- pots remaining dry despite the system running
A timer confirms that water was released. It does not confirm that the root zone received it.
Final 15 minutes: make three lists
Sort what you found into:
- Do now: simple maintenance with an obvious benefit
- Monitor: uncertain plant or moisture problems
- Plan before summer: shade, irrigation, planting or professional work
This prevents every imperfection becoming an urgent project.
Check moisture below the surface
Dry mulch or dusty topsoil does not necessarily mean the root zone is dry.
Move mulch aside and check the soil beneath it near the plant. Queensland Government guidance suggests checking moisture directly, including with a soil-moisture meter or by testing how easily a screwdriver reaches approximately 10 centimetres into suitable soil.
Compare several locations. One wet patch beside a dripper does not prove that the whole bed is receiving water.
| What you find | Possible next check |
|---|---|
| Dry surface, moist soil beneath | Water may not be required yet |
| Water pools without soaking in | Compaction, poor infiltration or excessive application may be involved |
| One wet patch beside a dry plant | Water may not be reaching enough of the root zone |
| Soil stays wet for a long time | Drainage, shade, leakage or overwatering needs investigation |
| A pot dries much faster than nearby pots | Root crowding, limited soil volume or greater sun exposure may be contributing |
| Water runs straight through a pot | Dry potting mix, root crowding or poor water distribution may need attention |
Do not dig deeply until underground services, irrigation lines and important roots are understood.
Measure mulch before adding more
Push aside a small area and check what remains. Water Corporation guidance commonly recommends an even mulch layer of approximately 5–10 centimetres, depending on the garden and material.
Keep mulch clear of plant stems and trunks, drainage openings, weep holes, paths and the base of buildings.
Before topping it up:
- remove established weeds
- check the soil moisture
- break up heavily matted mulch where suitable
- identify bare areas instead of covering everything automatically
- choose material appropriate to the plants and location
Mulch can reduce evaporation and weed growth, but it cannot correct leaking irrigation or permanently waterlogged soil.
Give every pot a quick inspection
Pots hold less soil than garden beds and can heat from several sides.
Check:
- that drainage holes are open and not sealed against the surface
- for cracks, movement or top-heavy growth
- for roots emerging from the base alongside rapid drying or poor growth
- whether water soaks into the mix or runs down the sides
- whether dark containers receive strong afternoon sun
- for saucers holding unnecessary water
One root emerging from a drainage hole does not automatically require repotting. Combine it with rapid drying, poor growth, instability or a tightly packed root ball.
For balconies and courtyards, also consider weight, drainage and walking clearance. Use the balcony and courtyard garden guide before expanding the collection.
Review the lawn without starting a treatment program
Walk the lawn and mark:
- thin or bare areas
- pooling after watering
- weeds concentrated in one location
- compacted high-traffic routes
- scalping or uneven mowing
- shade that has changed
- sprinklers missing part of the lawn
A thin patch under heavy shade requires a different response from damage along a walking route or a sprinkler gap.
Avoid applying fertiliser, herbicide or another treatment simply because it is spring. The Lawn Care Basics guide covers mowing, soil, watering and treatment decisions in more detail.
Identify insects before treating them
More insects become visible as the weather warms, but presence alone does not make them pests.
Look for a repeated pattern:
- holes, trails or distorted new growth
- sticky residue
- insects clustered on the affected plant
- damage increasing over several days
- fruit or stems affected consistently
Photograph the insect, the damage and the whole plant. Check a reliable local identification resource before choosing a treatment.
Agriculture Victoria notes that many garden invertebrates are beneficial or non-pests, including predators and pollinators. Broad insecticide use can affect non-target insects.
Check heat and afternoon exposure
A position that suited a plant in winter may become much harsher in late spring and summer.
Visit during the afternoon and note:
- reflected heat from walls, paving and fences
- pots receiving additional hours of sun
- newly exposed plants after pruning or leaf loss
- areas drying faster than the rest
- irrigation lines exposed to damage
- shade structures showing wear or movement
Before moving or shading a plant, confirm what it tolerates. Sudden relocation from shade into strong sun can create another problem.
The outdoor shade guide can help assess coverage, sun direction and wind exposure.
Keep pruning and chemical safety together
For this reset:
- limit pruning to material you can identify and reach safely
- do not use cutting tools from a ladder
- leave large limbs, uncertain tree defects and powerline work to appropriately qualified people
- keep garden chemicals in their original labelled containers
- follow labels for use, storage, withholding periods and disposal
- do not create homemade chemical mixtures
- store sharp tools securely and out of normal paths
Finish with four priorities
| Priority | Put these jobs here |
|---|---|
| Do now | Clear access, fix simple leaks, stabilise pots, remove identified young weeds and empty unnecessary standing water |
| Monitor | Uncertain growth, minor leaf damage, unfamiliar insects, changing soil moisture and uneven irrigation coverage |
| Plan before summer | Shade, irrigation repairs, drainage, heat-exposed pots and climate-suitable planting |
| Get appropriate help | Unsafe trees, vegetation near powerlines, retaining-wall problems and regulated pests or serious plant disease |
A useful spring reset does not make every part of the garden perfect. It identifies the jobs that will matter once the weather becomes hotter and leaves the rest under sensible observation.