
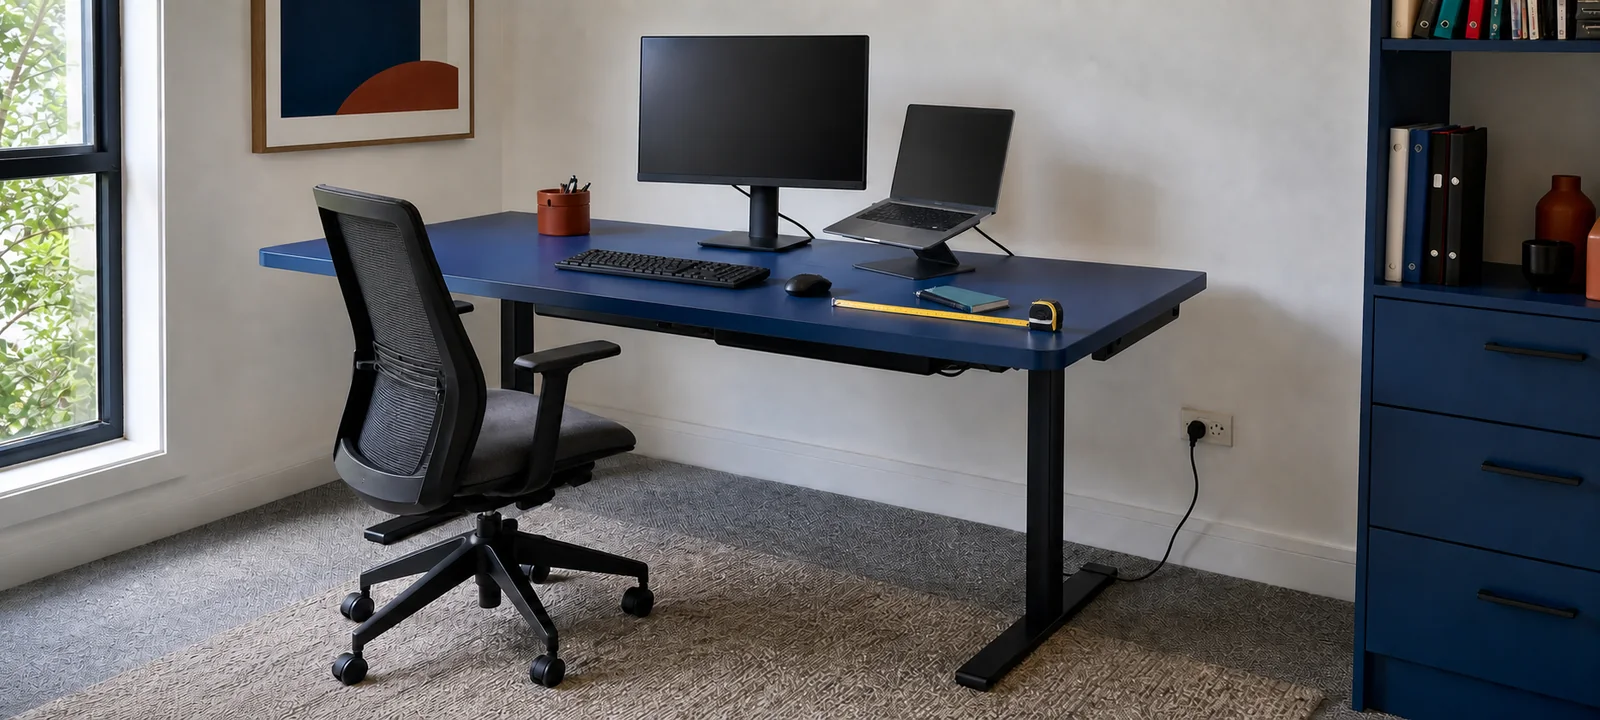
A desk can fit the wall and still fail the room. The chair may block a wardrobe when it is pulled back, a monitor may sit too close on a shallow top, or the only practical cable route may cross the walkway. These problems rarely appear in the advertised desk dimensions.
Plan the whole work zone before comparing furniture. That means measuring the room in use, not only the empty wall, and laying out the equipment that appears during a normal working day. The useful size of a desk depends on what must sit on it, what must move around it and what needs to remain accessible.
This guide takes you through the room, chair, equipment, lighting, power and storage checks that turn a desk measurement into a workable home office plan. For the broader sequence, start with the Home Office setup hub.
Our Take
Choose the desk only after you have marked its full operating footprint. Desktop depth, clear leg room and chair movement usually reveal more than width alone. A modest desk that supports the real equipment and leaves the room usable is a better fit than a larger surface that creates daily conflicts.
Build a simple mock-up with removable tape, a table or sheets of cardboard. Sit, type, use the mouse, open nearby storage and stand up as you normally would. The aim is not to find a universal desk size; it is to identify the smallest comfortable setup that works for the people, equipment and room involved.
Start With the Work, Not the Furniture
List what happens at the desk during a typical day. Writing, video calls, reading documents, drawing, gaming and occasional household administration use the surface differently. Also note whether the setup remains in place or needs to be packed away when work finishes.
Lay out every item used at the same time: laptop, monitor, keyboard, mouse, notebook, papers, phone, headset, lamp and drink. Include less obvious items such as a docking station, speakers, microphone, graphics tablet or charging stand. A desk measured around a closed laptop can become crowded as soon as the working setup is connected.
Separate daily equipment from occasional equipment. Items used once a week may suit nearby storage rather than permanent desktop space. This keeps the desk plan honest without forcing the room to accommodate every office supply at once.
Measure the Room in Working Mode
Record the usable wall width and the floor depth available in front of it. Measure around skirting boards, window reveals, columns, sloping walls and other details that reduce the usable area. If the desk will sit in an alcove, take measurements at the floor, desktop height and above the monitor because walls are not always perfectly square.
Mark the proposed desktop corners on the floor, then add the chair in its normal working position and pulled back far enough for the user to stand. Leave the marks in place while the room is used. Walk past them, make the bed, open the wardrobe and use any door that swings into the area. A workable plan protects the room's ordinary functions as well as the office.
Check walking space and moving parts
Open doors, drawers, cupboards and windows through their full travel. Check whether another person can pass behind the chair when someone is working, especially in a bedroom, living area or shared study. Do not assume the chair will always be tucked in; plan for the position it occupies during use.
Look for floor vents, heaters, air-conditioning outlets and access panels. A desk that covers something needed for airflow, cleaning or servicing can create an avoidable problem. Note changes in floor level and rug edges that may affect chair movement or a desk's stability.
Measure the delivery and assembly route
Check the packaged or assembled dimensions of the desk being considered. Measure the narrowest doorway, hallway, stair, lift and turn between the delivery point and the room. A flat-packed desk may reach a space that the same desk cannot leave once assembled, which matters when renting or planning a future move.
Confirm where assembly can happen and whether the finished desk needs room to be rotated or lifted into position. Keep the manufacturer's assembly and fixing instructions in the decision; do not assume a heavy top or frame can be safely handled in a tight room without help.
Allow for the Chair, Leg Room and Floor Surface
Treat the chair as part of the desk footprint. Measure its widest point, overall depth, base and armrest height. Then measure how far it moves when the user sits down, works and stands. Use the actual chair where possible, because two chairs with similar seat dimensions can occupy very different areas at the base or arms.
Compare the chair with the clear opening beneath the desk. Desk drawers, thick tops, support rails, crossbars, motors and cable trays can reduce knee and thigh space even when the advertised desk height looks suitable. Check clear width, height and depth below the top, including anything that will be fitted later.
Test the chair on the real floor. Castors and glides do not behave the same way on carpet, rugs, tile, timber and other hard surfaces. If a chair mat is being considered, include its complete footprint and check that the material suits the flooring and chair guidance.
How to Choose Home Office Desk Size, Width and Depth
Width controls what can sit side by side. Depth controls the relationship between the screen, keyboard, hands and front edge. A wide but shallow desk may still force the monitor too close or leave no room for a notebook in front of the keyboard.
Recreate the proposed surface on a dining table or floor. Position the equipment as it will be used, sit at the front edge and adjust the screen until text is comfortable to read without leaning forward. Measure from the front of the work surface to the back of the monitor stand, then add the space required for plugs, cable bends and any gap behind the desk.
Include the parts of the surface used for paperwork, a desk mat, handwriting or reference material. If those tasks happen beside the keyboard, measure that width. If they happen in front of it, measure the extra depth and make sure the keyboard can be moved without pushing other equipment into an unsafe or awkward position.
Laptop and desktop computer setups
A laptop used on its own needs less surface and fewer cables, but adding a stand normally means allowing for a separate keyboard and mouse. A laptop connected to a monitor may also need a dock, charger and an accessible place to open or remove the computer.
A desktop computer adds the tower or small computer, display, peripherals and more cable connections. If the computer sits below the desk, keep it out of the user's leg space and allow access for ventilation, ports and cleaning. If it sits on the desk, include its full footprint rather than assuming unused width beside the monitor.
Dual-monitor planning
Set two screens at the angle used during work and measure the combined width and depth. Angled screens project further into the room than flat screens and may need more space behind their outer edges. Check whether the user's main screen can remain centred rather than forcing the neck to turn throughout the day.
Monitor arms can recover some surface area, but they introduce other checks. Confirm the desktop thickness and material suit the clamp or fixing, the edge is accessible, the stated load limit covers the screen and there is enough room behind the desk for the arm to move. A wall, window sill or shelf can stop an arm reaching its advertised range.
Protect Space for the Keyboard and Mouse
Position the keyboard and mouse where the user naturally reaches them, then measure the complete movement area. Mouse space needs to suit the user's preferred hand and sensitivity, not only the physical size of the mouse. Add any wrist support or desk mat that will remain in place.
Check the relationship between the input devices and the desk edge while seated. A pull-out keyboard tray changes leg clearance and may not leave enough width for the mouse. A deep desktop can be useful, but it does not help if drawers, a thick front rail or the wrong chair position prevents the user getting close enough to work comfortably.
Plan Power and Cable Routes Before Placement
Locate every nearby power point and note whether it will remain accessible once the desk is in place. List each item that needs power, including the monitor, computer, dock, lamp, printer, phone charger and sit-stand motor. Check plug sizes as well as cable lengths; large adaptors can block an adjacent socket or stop furniture sitting where expected.
Draw the cable route from each device to the power point. Keep leads out of walking and chair paths, allow gentle bends at plugs and leave access for checking, disconnecting and cleaning. Cable trays and openings are useful only when they line up with the real equipment. A concealed power board that cannot be reached easily is not a practical setup.
Follow the instructions supplied with power boards, chargers and equipment, and do not overload power boards or connect them in a chain. Desk placement and removable cable organisers do not require an electrician merely because they sit near powered equipment, but the household must not alter plugs, leads or wiring. Renters should obtain the required approval before drilling or making permanent changes.
Check Natural Light, Glare and Artificial Lighting
Observe the proposed desk position at different times of day. A screen that looks clear in the morning may catch strong afternoon reflections, while a desk directly in front of a bright window can create a large contrast between the screen and background. A screen facing a window may reflect it back at the user.
Test whether moving the desk, turning the monitor or using existing blinds and curtains improves control before buying extra accessories. Keep window handles and coverings usable. Natural light from the side can be easier to manage, but the room, season and screen finish all affect the result.
Include a lamp base, switch and cable in the desktop plan if task lighting is needed. Check that the light can reach paperwork without shining into the screen or camera. For video calls, look at the face on camera during daytime and evening rather than assuming the room's general lighting will be suitable.
Plan Storage and Printer Access
Sort work items into what must be within reach, what can sit nearby and what can be stored elsewhere. Daily stationery, active papers and charging items may justify a drawer or shelf close to the desk. Archived paperwork and spare supplies do not need to consume the most useful working area.
Measure drawers and cabinets open, not only closed. Make sure they do not strike the chair or block the walking route. A drawer unit supporting one side of a desk changes the clear leg opening and may make the advertised desktop width feel much narrower in use.
For a printer, include the body, open paper trays, scanner lid, rear feed, cable plugs and the hand space needed to clear jams or replace supplies. Check the support surface and the manufacturer's ventilation guidance. A printer on a nearby cabinet may work better than one taking permanent space on the main desktop.
Measure a Sit-Stand Desk at Every Height
A sit-stand desk is a moving work zone. Confirm the stated adjustment range suits each regular user and test the planned monitor, keyboard and mouse positions at sitting and standing height. Include the thickness of the desktop and any equipment below it when assessing the lowest usable position.
Raise a mock work surface, or use the product's complete dimensions, to check what happens near window sills, shelves, pictures and sloping ceilings. Make sure the moving top cannot trap a cable or strike furniture. Allow enough cable length for the highest position without leaving loose loops in the chair or foot area at the lowest position.
Check the complete frame footprint, feet, motor housing, controls and crossbars. A standing desk may use more floor area than its top suggests, and a nearby filing cabinet or wall may restrict movement. Follow the manufacturer's assembly, load and operating instructions for the model.
Plan for Shared Rooms, Calls and Noise
In a shared workspace, map both chairs, screens and walking routes at the same time. Decide whether people need to pass behind each other, reach the same storage or join calls simultaneously. Two compact desks can create more conflict than one larger shared surface if chair movement and cable routes overlap.
Check the camera view from the actual seated position. Open doors, laundry areas, beds and household storage may appear behind the user even when the desk looks well placed from the room entrance. A suitable background does not need to be decorative; it needs to remain practical and reasonably controllable during calls.
Listen to the room during normal household activity. Hard surfaces, shared walls, appliances and busy walkways can affect concentration and calls. Furniture cannot remove every noise problem, so consider whether the desk position, work hours and door access can reduce interruptions before buying acoustic accessories.
Allow for Future Upgrades Without Taking Over the Room
Note the changes that are reasonably likely: a larger screen, a second monitor, a new laptop dock, more paper storage or another regular user. Allowing a little accessible space and a flexible cable route can make those changes easier.
Avoid buying a much larger desk for every possible future. Extra surface often becomes storage, while the chair and walkways still determine whether the room functions. Prioritise furniture that can be repositioned, adjusted or paired with separate storage when the household's needs are uncertain.
If connected lights or routines are part of the upgrade, map their control, privacy and power requirements before fixing the desk position. The smart home office setup guide keeps those additions separate from the desk-sizing decision.
Compare Desk Types by Their Trade-Offs
- Fixed desk: simple to measure and place, but the working height must suit the chair and regular user.
- Desk with drawers: keeps supplies close, but drawers reduce leg room and need opening clearance.
- Corner or L-shaped desk: provides separate work zones, but occupies more floor area and commits the room to one orientation.
- Folding or wall-mounted desk: can release floor space, but equipment needs a realistic pack-away home and fixed installation may require approval.
- Sit-stand desk: changes working height, but needs power, cable slack and safe clearance through its full movement.
- Dining or multipurpose table: avoids adding furniture, but work items need somewhere to go before the room returns to its other use.
Before You Buy Checklist
Room and access
- Measure the usable wall width and floor depth at the proposed position.
- Mark the desk, chair working position and chair pull-out zone on the floor.
- Open nearby doors, windows, wardrobes, drawers and cupboards through their full travel.
- Walk the room's usual routes while the marked work zone is in place.
- Check floor vents, heating, cooling and any access needed for cleaning or servicing.
- Measure the narrowest doorway, hallway, stair, lift and turn on the delivery route.
Desk, chair and equipment
- Lay out all equipment used during a normal work session.
- Measure the surface depth after placing the monitor at a comfortable viewing distance.
- Include keyboard, mouse, notebook, paperwork, lamp and drink space.
- Measure dual screens in their intended angle, including stands or monitor arms.
- Check the clear width, height and depth beneath the desktop.
- Compare the chair's base, arms and pull-out movement with that clear opening.
- Confirm desktop, frame, clamp and shelf load limits for the planned equipment.
Power, light and storage
- Locate power points and map every cable without crossing a walking or chair route.
- Keep power boards, plugs and connections accessible for checking and cleaning.
- Test screen glare and daylight in the morning and afternoon.
- Include the lamp footprint, light direction, switch and cord in the plan.
- Measure storage and printer trays, lids and drawers in their open positions.
- Decide where portable equipment and papers go when work finishes.
Final product checks
- Verify complete product and packaged dimensions with the manufacturer information.
- Check assembly, fixing, adjustment, load and care instructions before ordering.
- For a sit-stand desk, check every intended height, nearby obstacle and cable position.
- Confirm any required rental or property approval before drilling or wall mounting.
- Keep a written measurement sheet and compare it with the exact model being considered.
The final check is simple: the desk should support a real working session while the rest of the room still works. Measure that complete experience before spending money, not only the rectangle shown on a product page.
Common Questions
What should I measure before buying a home office desk?
Measure the usable wall and floor area, the desk footprint, chair width and pull-out space, the clear opening below the desk, your equipment layout, nearby doors and drawers, power point locations and the delivery route. Mark the desk and chair zone on the floor and test how the room works before ordering.
How do I work out the right desk depth for a monitor?
Arrange the actual monitor stand, keyboard, mouse and any laptop or paperwork on a temporary surface. Sit in your normal working position, place the screen at a comfortable viewing distance and measure the full front-to-back area used. For two screens, set them at the intended angle and include both stands or arms, cable space and the extra depth created by the angled outer edges.
How much room should I allow for the chair and a sit-stand desk?
There is no single clearance that suits every chair, person and room. Mark the chair in its working position, then pull it back far enough to stand and walk behind it. For a sit-stand desk, also check the lowest and highest positions, cable slack, the frame and feet, nearby shelves or window sills, and the position of the chair when the user is standing.